Tag Archives: Teaching Photography

Rule of Thirds

When photographers want to improve their photographs, one of the basic concepts they implement is the Rule of Thirds. Why the rule of thirds? And, what is the significance?

The basics of the rule of thirds is that the space of the image is divided in three both horizontally and vertically resulting in what we commonly know as a tic tac toe grid.

Rule of Thirds Grid

History

The rule of thirds was first implemented intentionally in the late 1700s. The concept started far in advance of photography. Instead, artists implemented the rule of thirds in regards to painting and sculpture. As a result of collaboration from artistic minds of the day, the rule of thirds was deemed to be most pleasing to the human eye. While it is not always desired or necessary to capture photographs using the rule of thirds, photographers can significantly improve their photographs using this concept.

Implementing the Rule of Thirds

Many digital cameras allow users to turn on the grid lines showing the rule of thirds. Turning on this grid helps to remind some that this composition technique is important.

Intersecting Lines

To implement the rule of thirds, compose images by placing the most important elements at intersecting lines where the lines meet.

In this image of the large oak tree, note the intersecting lines along the trunk and major branches. Placing the intersecting lines along prominent sections of the tree allows the eye of viewers to focus on important elements.

large tree, rule of thirds grid
Large Oak Tree

When to Use the Rule of Thirds

Photographers who want to appeal to the human eye often use the proven concepts rule of thirds. Is this a hard and fact rule to use always. No. There are other techniques to consider as well. However, using the rule of thirds is a tried and true method of improving photographs to have them appeal to the viewer. Use it often.

Editing a Dark Photo with PicMonkey for Hobbiest Photographers

Getting Started Using PicMonkey to Edit a Dark Photograph

Editing photographs is a certain fact with digital photography. Once mastered, editing can be just as fun and rewarding as taking photographs. Let’s look at a photograph that may have been lost to poor conditions and or camera settings and use PicMonkey.com to salvage to would be tossed out file.

  1. Navigate to www.picmonkey.com from your browser.
  2. Select EDIT in the menu window. (PicMonkey has many editing tools that are available for free.At some point, you may be interested in using the free 30 day trial upgrade which gives you access to all tools.)pm start
  3. Upload a photograph of your choice. _MG_1881.jpg
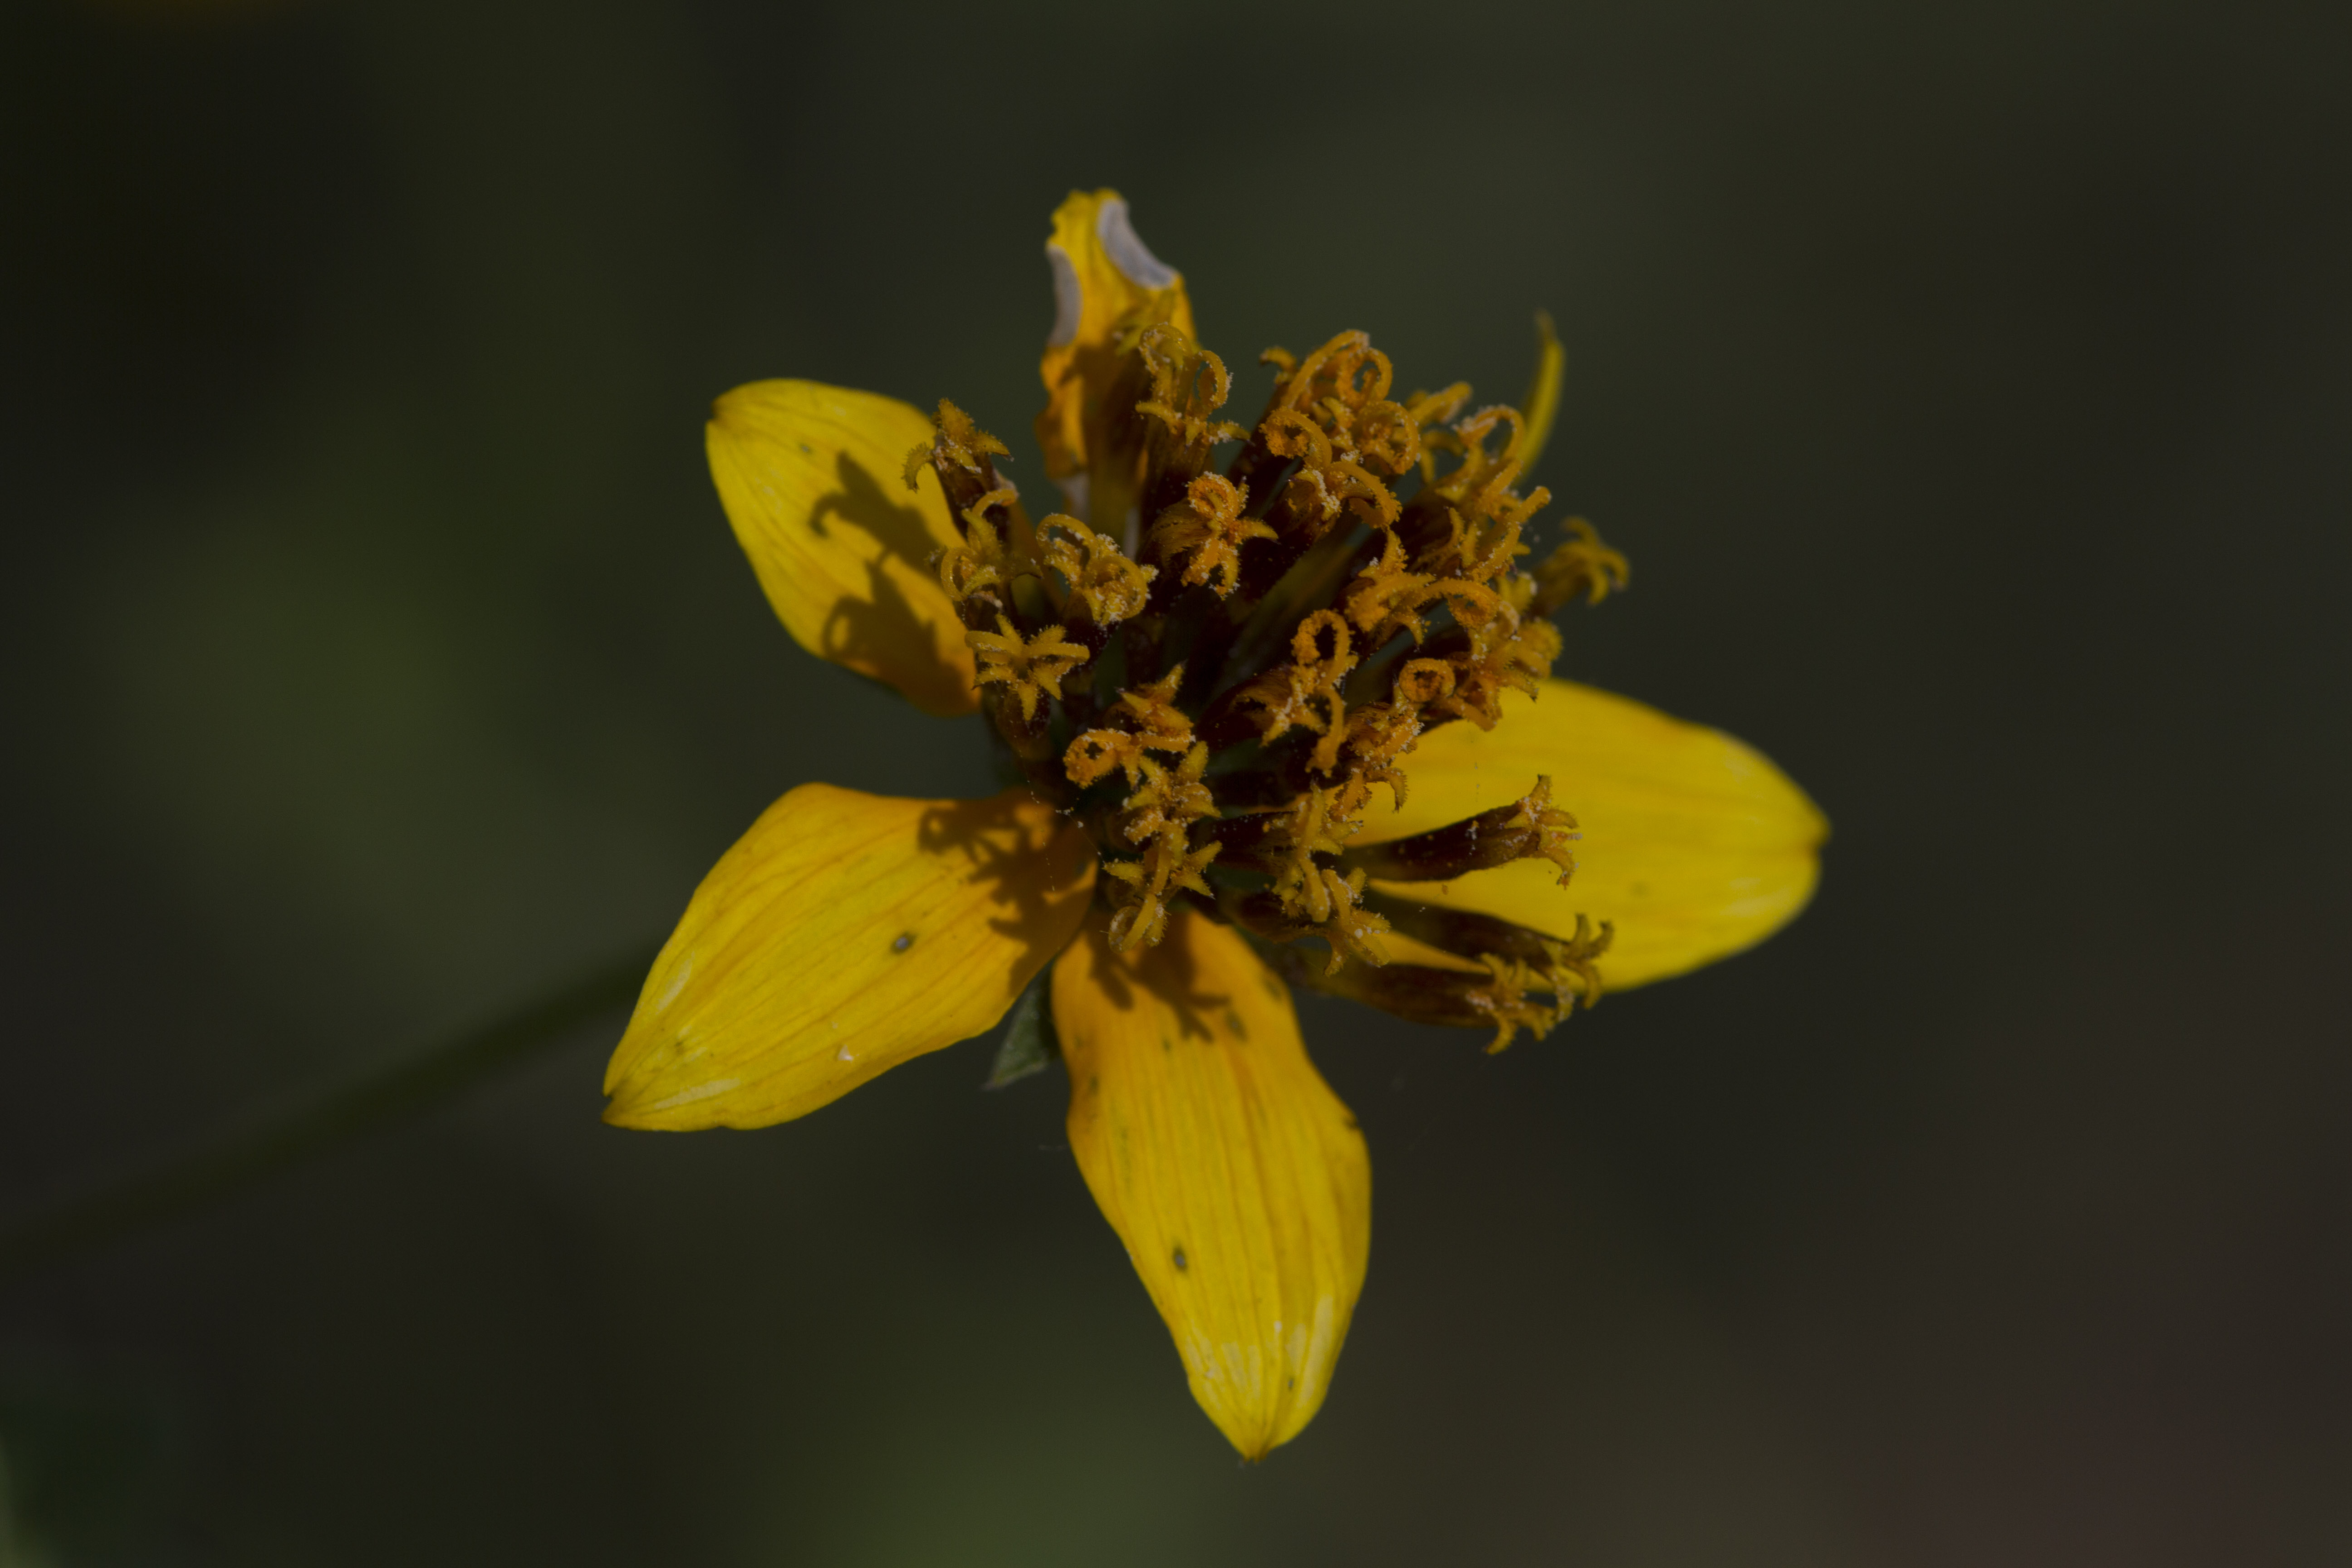
In this case, we will be using a photograph of a yellow wildflower that that I took when traversing back roads in Texas. This image is very dark, but I have delayed tossing it to the trash.
  4. When in PicMonkey, you will see several menu options on the left. The first menu option is Basic Edits. In Basic Edits, we will use Exposure, Sharpen, and Crop. 1_Original
  5. First let us start with Exposure. This dark image can most benefit by adjusting the sliders to increase the brightness. Adjust the sliders noticing the changes to the image as adjustments are made. When the exposure is as you like, select Save. At any time you do not like the results of your adjustment, select Cancel to being that setting all over.2_Exposure
  6. Next we will select Sharpen and then select Unsharp Mask. 3a_Sharpen
  7.   After selecting Unsharp Mask, adjust the sliders to achieve the desired effect.3c_Sharpen
    • Radius means only the pixels next to the edges will be sharpened. It is often effect to select only 1 to 2 for this slider. Otherwise, the results will be a weird halo effect.
    • Threshold determines how much contrast there needs to be between colors for them to be sharpened.
    • Clarity is used to adjust local contrast.
    • Select Save when finished sharpening the image.
  8. Next, we are going to select the Effects menu and scroll down to Camera Effects and select HDR. HDR stands for high-dynamic range and basically pulls out the light, medium, and dark tones in images. In the case of PicMonkey, this filter allows us to use one image. Select Reverse Effect. Apply the HDR filter with a medium to large size brush to the petals of the flower only. Then select Save. 4_HDR_reverse effect
  9. While still in Effects, under Basic, select Boost. Selecting a small brush size and applying Boost only to the anthers of the flower will provide for the desired effect. Always save changes. 5_Boost_pistils
  10. The final adjustment to be made will be to Crop the image ideally placing the flower off center which is more pleasing to view. We will again select the Basic menu and choose Crop. Crop as desired, and Save. 6_Crop
  11. Now to complete our PicMonkey experience, it is necessary to save the image back to your computer. At this point, you can rename the image if desired.
  12. Notice the comparison of the original image and the final edited image. FinalComparison
  13. The final image:
Final

Disclaimer: These adjustments are arbitrary and used on the particular image as indicated and only for demonstration purposes. While this author does not claim to be the expert on PicMonkey, sharing this tool with other hobbyist photographers might allow for alternatives for creative manipulation of images.


My Photography Passion

I was asked to teach Continuing Education photography class at a local college. I am very honored to be a part of this program. When I look back on my photography experience, it is easy to remember when I developed a passion for photography.

From the time I was eight years old, I wanted to take pictures. Mostly, I loved seeing the collections of old photographs my grandmothers on both sides of my family had collected. Those old photographs always lead to discussion about family history. I loved those discussions!

After a series of less serious cameras, I bought my Self-Portrait | Flickr - Photo Sharing!Minolta X700. (I still have that camera! More on that topic in a future post.) From that point on, I started learning to see my world differently. In doing so, I wanted to capture my world to reflect on my experiences and to share with anyone who might be interested. So began a lifetime of learning about photography and now about digital photography.

I pray that I am able to live up to the expectations of my students as we grow together and share our common desire to use a camera for whatever purpose.

Tomorrow starts my formal path to teaching photography. I am excited!